Account Settings and Preferences in Maestra Studio
Account settings in Maestra Studio hold your profile, sign-in details, notifications, integrations and default preferences. Select the gear icon next to your name at the bottom of the left sidebar to open them. The page has two tabs, Account and Preferences.
What you need before you start
- A Maestra Studio account that you are signed in to. If you do not have one, create a free account.
Account tab
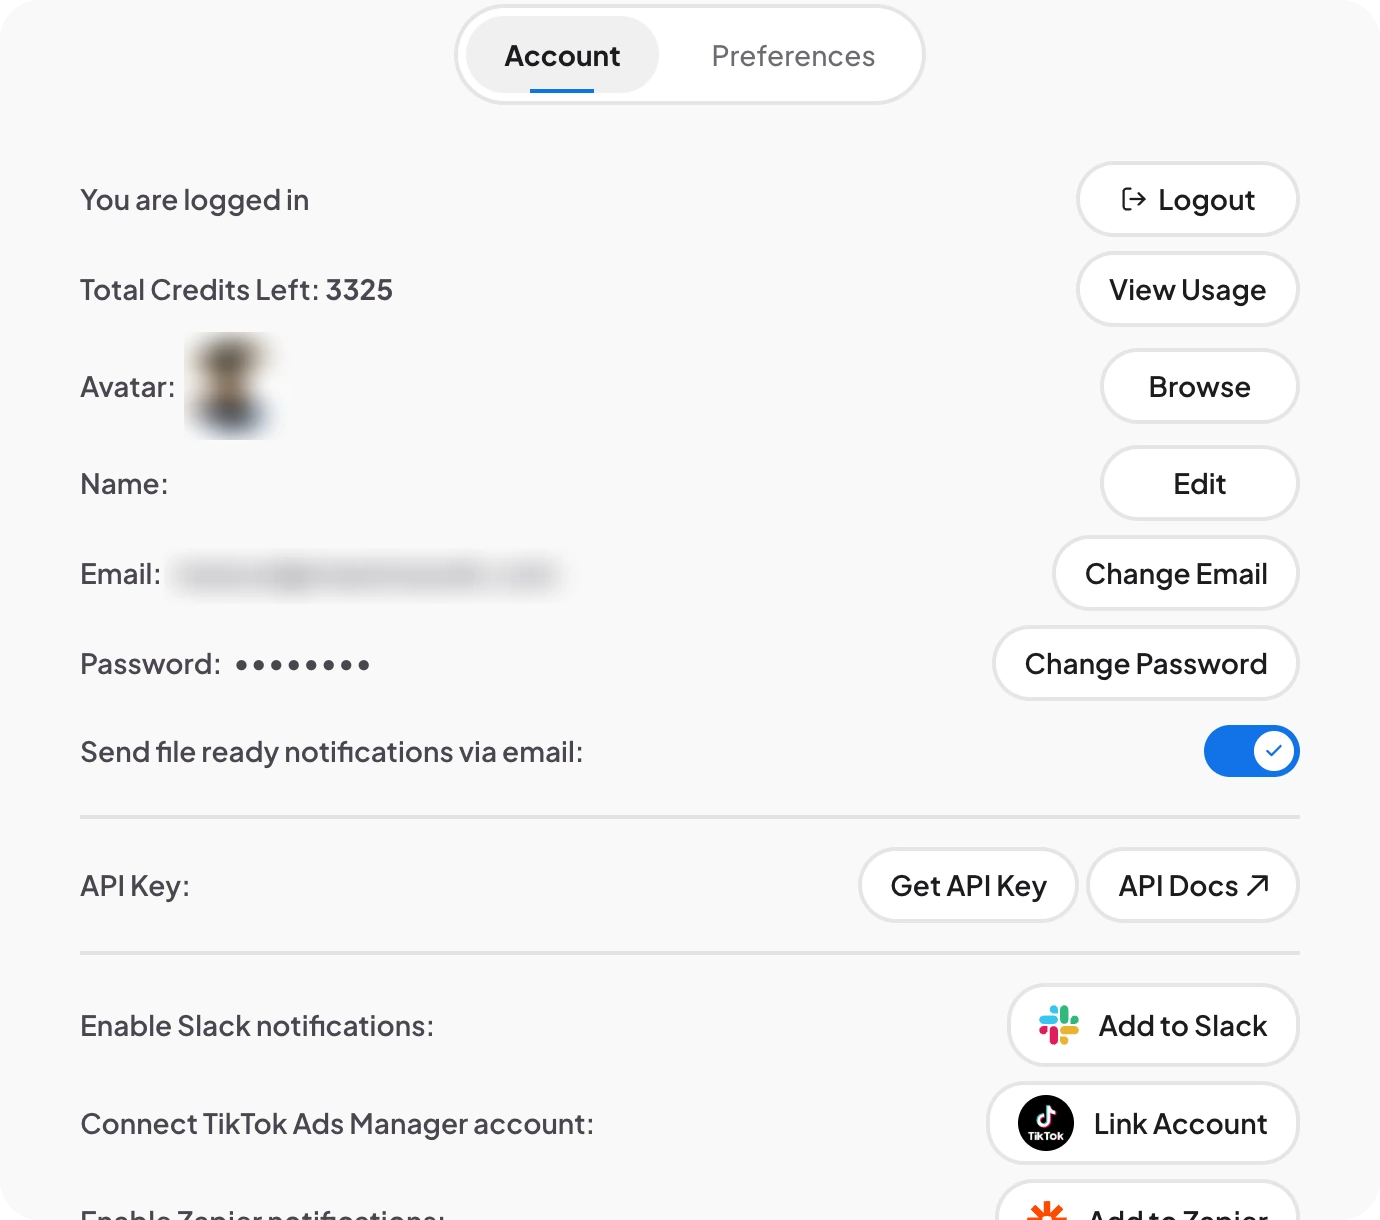
- You are logged in / Logout: signs you out of Maestra Studio.
- Total Credits Left / View Usage: shows your credit balance. View Usage opens a page with your plan and a history of credit use. See Credits, Plans and Usage.
- Avatar / Browse: choose a picture for your profile.
- Name / Edit: change the name shown on your account.
- Email / Change Email: change the email address you sign in with.
- Password / Change Password: change your password.
- Send file ready notifications via email: turn on to get an email when a file finishes processing.
- API Key / Get API Key: gives you a key that other tools use to connect to your account. Keep it private. API Docs opens the API documentation in a new tab.
- Enable Slack notifications / Add to Slack: see Slack Notifications.
- Connect TikTok Ads Manager account / Link Account: see TikTok Ads Manager.
- Enable Zapier notifications / Add to Zapier: see Zapier Integration.
Scroll to the bottom of the page for these controls:

- Manage Billing & Subscription: opens your billing and subscription settings.
- Delete Account (marked 1): deletes your account and all the data attached to it. See Privacy and Data before you use it.
- Give Feedback: share ideas or problems with the Maestra team.
- The links at the very bottom open the FAQ, Terms, Privacy Policy and Consent Preferences.
Preferences tab
Preferences set how Maestra Studio looks and which defaults new work starts with.
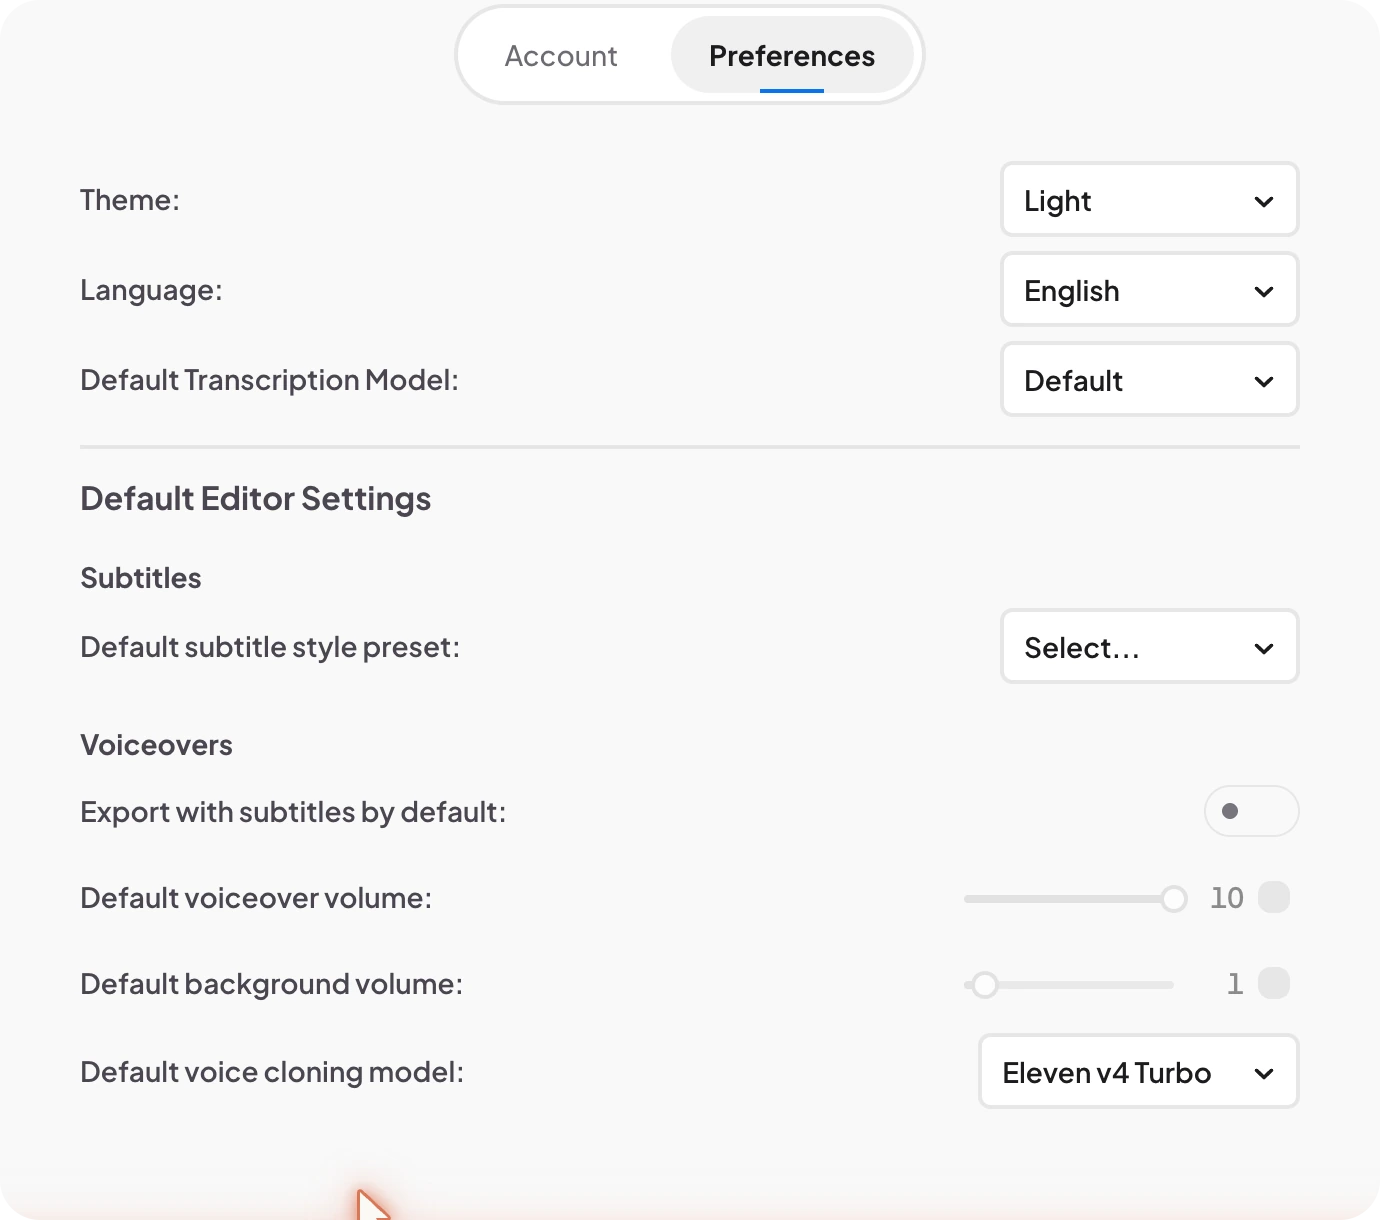
General
- Theme: choose System Default, Dark or Light.
- Language: the language of the Maestra Studio interface.
- Default Transcription Model: choose Default, Soniox, ElevenLabs, Google or Azure. Some features depend on the model. For example, transcription context needs Soniox. See Dictionary & Context.
Default Editor Settings
- Default subtitle style preset: the style new subtitles start with. Presets come from Format Subtitles.
- Export with subtitles by default: when on, voiceover exports include subtitles automatically.
- Default voiceover volume and Default background volume: the starting levels of the new voice and the original audio in a voiceover.
- Default voice cloning model: choose Eleven v4 Turbo, Eleven v4, Eleven v3, Eleven Multilingual v2, Eleven Flash v2.5 or Eleven Turbo v2.5. See Voice Cloning.
Plan banner and support
- Plan banner: at the top right, a message shows your plan status and a View or Manage button that opens your plan details.
- Help, Feedback and What's New: the links at the bottom of the left sidebar open this help center, the feedback board, and the changelog. The number below them is your Maestra Studio version.
- Support button: the round button at the bottom right opens two options: Maestra Chatbot for an instant answer and Create a Ticket for a reply within 1 to 2 business days.
Frequently asked questions
Open account settings from the gear icon in the sidebar, then select Change Password on the Account tab.
On the Account tab, next to API Key. Select Get API Key. Keep the key private.
Open the Preferences tab and set Theme to Dark, or choose System Default to follow your device.
Yes. Set Default Transcription Model on the Preferences tab to Default, Soniox, ElevenLabs, Google or Azure.
Select the round support button at the bottom right and choose Maestra Chatbot for instant help or Create a Ticket for a reply within 1 to 2 business days.