How to Manage Your Files, Folders and Channels in Maestra Studio
The library is where every file you create in Maestra Studio lives. Open Transcription, Subtitle or Voiceover under Library in the left sidebar to see that type of file, then use the toolbar above the list to search, organize, move, rename, duplicate, export or delete your files.
What you need before you start
- A Maestra Studio account. If you do not have one, create a free account.
- At least one file in the list. To add one, see Upload a File and Create Subtitles, Upload a File and Get a Transcript or Upload a File and Create an AI Voiceover.
Open a library list
The Library section of the left sidebar has four items:
- Transcription: your transcripts.
- Subtitle: your subtitle files.
- Voiceover: your voiceover projects.
- Live: opens Maestra Live, our separate live captions and translation product, in a new tab. See the Maestra Live Help Center.
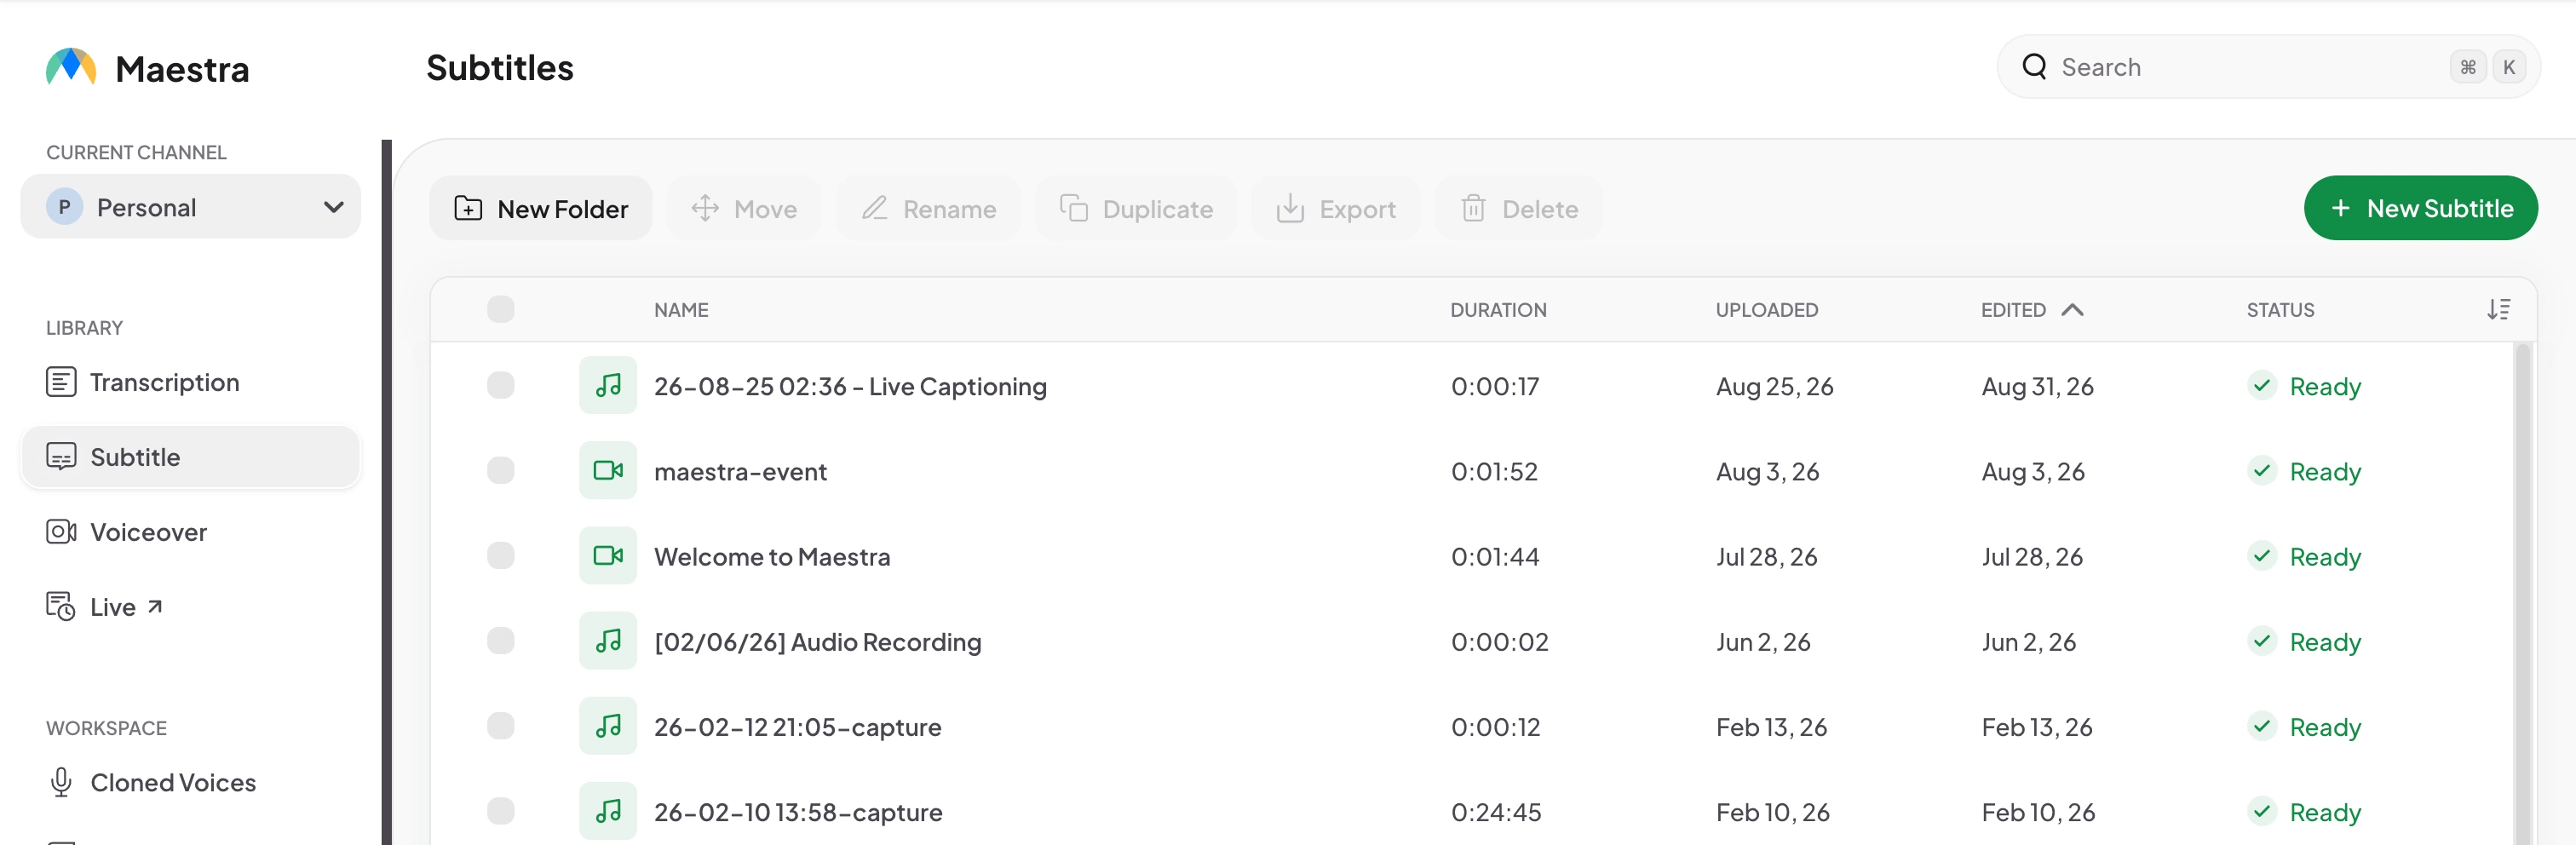
Read the file list
Every list has the same columns. Select any file name to open it in its editor.
- Name: the file name. The icon at the start of the row shows the type of media, such as audio or video.
- Duration: the length of the media.
- Uploaded: the date you added the file.
- Edited: the date or time you last changed the file. The arrow shows that the list is ordered by this column.
- Status: Ready means processing is finished and the file is ready to open.
The checkbox at the top of the first column selects every file in the list. The checkbox at the start of a row selects that file only.
Search for a file
Use the Search field at the top right of the page to find a file by name. The shortcut shown in the field, ⌘ K, moves your cursor to it.
Change the order of the list
Select the sort icon at the right end of the column headers to open the sort menu.
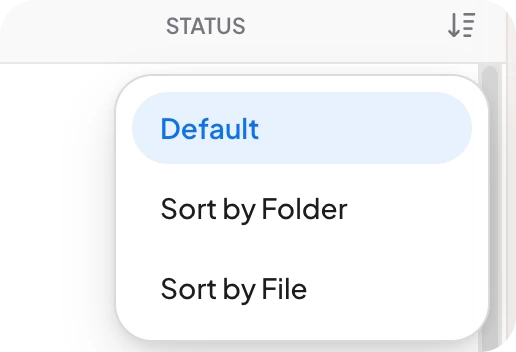
- Default: the standard order.
- Sort by Folder: groups items by folder.
- Sort by File: groups items by file.
Create a folder
- Select New Folder at the left end of the toolbar. The Create a new folder window opens.
- Type a name in Folder Name.
- Select Create.
New Folder is unavailable while files are selected. Clear the selection first.
Work with selected files
Select one or more files with their checkboxes. The toolbar buttons turn on, and a selected counter appears. Select the X next to the counter (marked 6) to clear the selection.

- Move (marked 1): opens Move selected files to. Choose a channel under Channels and a folder under Folders. Root is the top level with no folder.
- Rename (marked 2): opens Rename your file or folder. Type the new name and select Rename.
- Duplicate (marked 3): makes a copy of the selected file.
- Export (marked 4): opens Bulk export so you can download several files at once. See the next section.
- Delete (marked 5): removes the selected files. Deleting a file also deletes the data stored with it. See Privacy and Data.
Export several files at once
Select your files, then select Export. The Bulk export window shows how many files you selected.
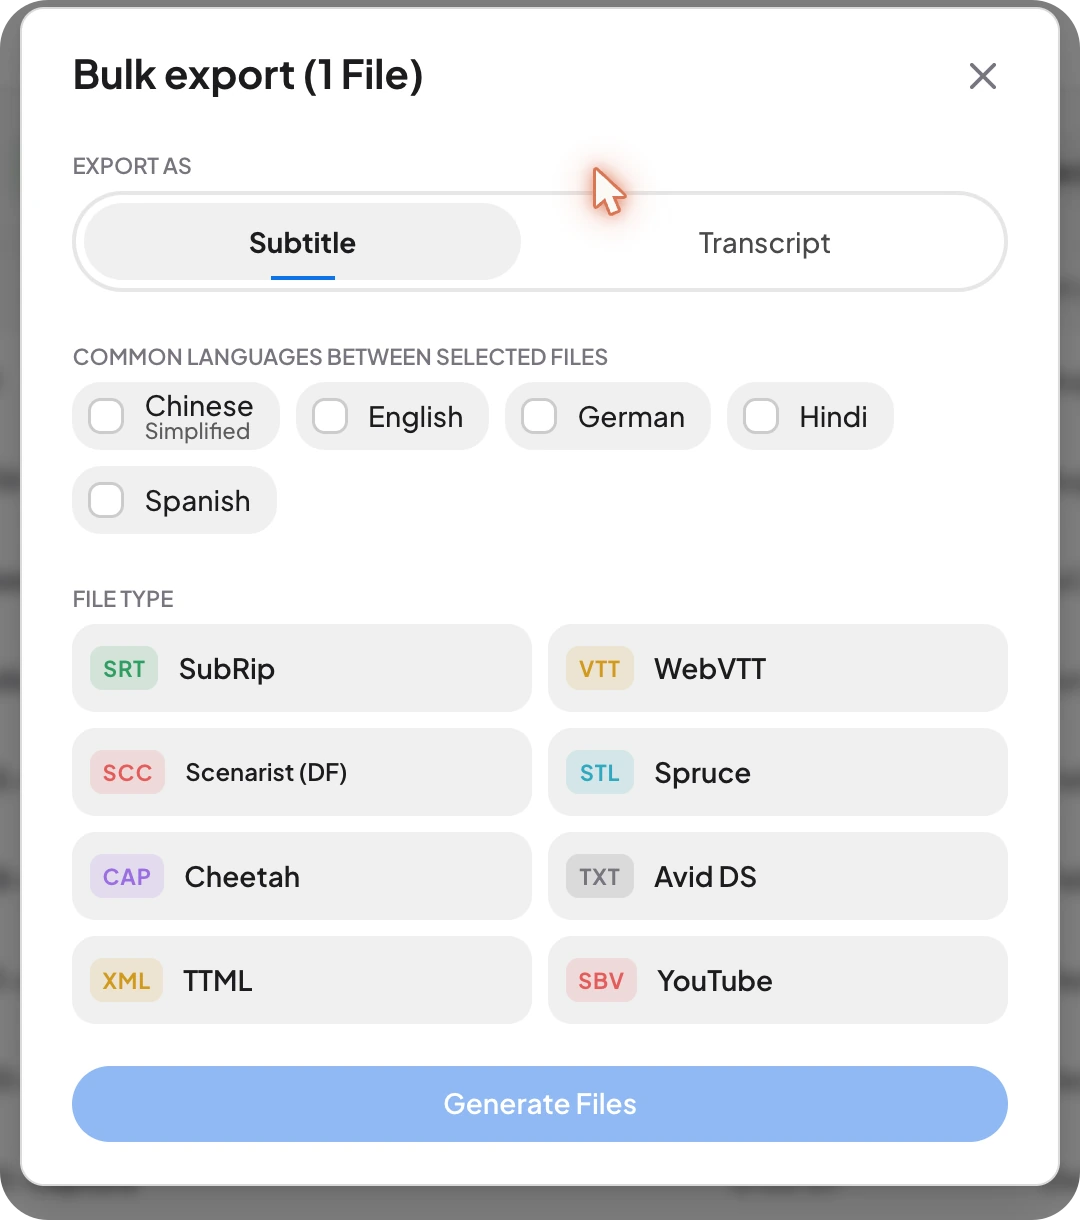
- Under Export as, choose Subtitle or Transcript.
- Under Common languages between selected files, tick each language you want. Only languages that every selected file has are listed.
- Under File type, choose a format. For subtitles: SubRip (SRT), WebVTT (VTT), Scenarist (SCC), Spruce (STL), Cheetah (CAP), Avid DS (TXT), TTML (XML) or YouTube (SBV). For transcripts: Plain text (TXT), Word (DOCX) or PDF.
- Select Generate Files. The button turns on once you have chosen a language and a file type.
Switch between channels
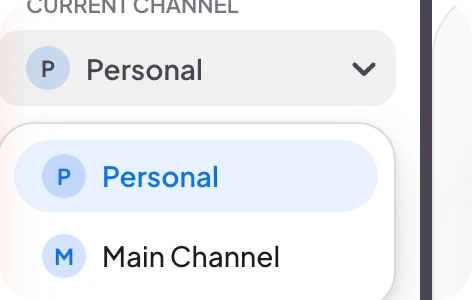
Current Channel at the top of the left sidebar shows which workspace you are in. Open the menu to switch between Personal and the channels of your team, such as Main Channel. Each channel has its own files. See Teams to learn how channels work.
Add a new file
The button at the top right of each list creates a new file of that type: New Transcription, New Subtitle or New Voiceover. It opens the upload window described in the upload guides.
Frequently asked questions
Use the Search field at the top right of the library. You can also sort the list from the sort icon in the column headers.
Select the files, choose Move, then pick a channel and a folder in the Move selected files to window.
Yes. Select the files, choose Export, pick Subtitle, choose the languages and a file type, and select Generate Files.
New Folder is unavailable while files are selected. Select the X next to the selected counter to clear the selection.
In the channel they belong to. Use the Current Channel menu at the top of the sidebar to switch channels.