How to Import Existing Subtitles and Translate Them
You can import an existing subtitle file (SRT or VTT) into Maestra Studio to edit it, style it, and translate it, without generating a new transcript. Use Skip automatic transcription when you upload, or add the file as custom subtitles inside the editor.
What you need before you start
- A Maestra Studio account that you are signed in to. If you do not have one, create a free account.
- A subtitle file in SRT or VTT format.
- The video or audio file the subtitles belong to.
Import subtitles when you upload
- Select Subtitle in the left sidebar, then select New Subtitle.
- Add your video or audio file.
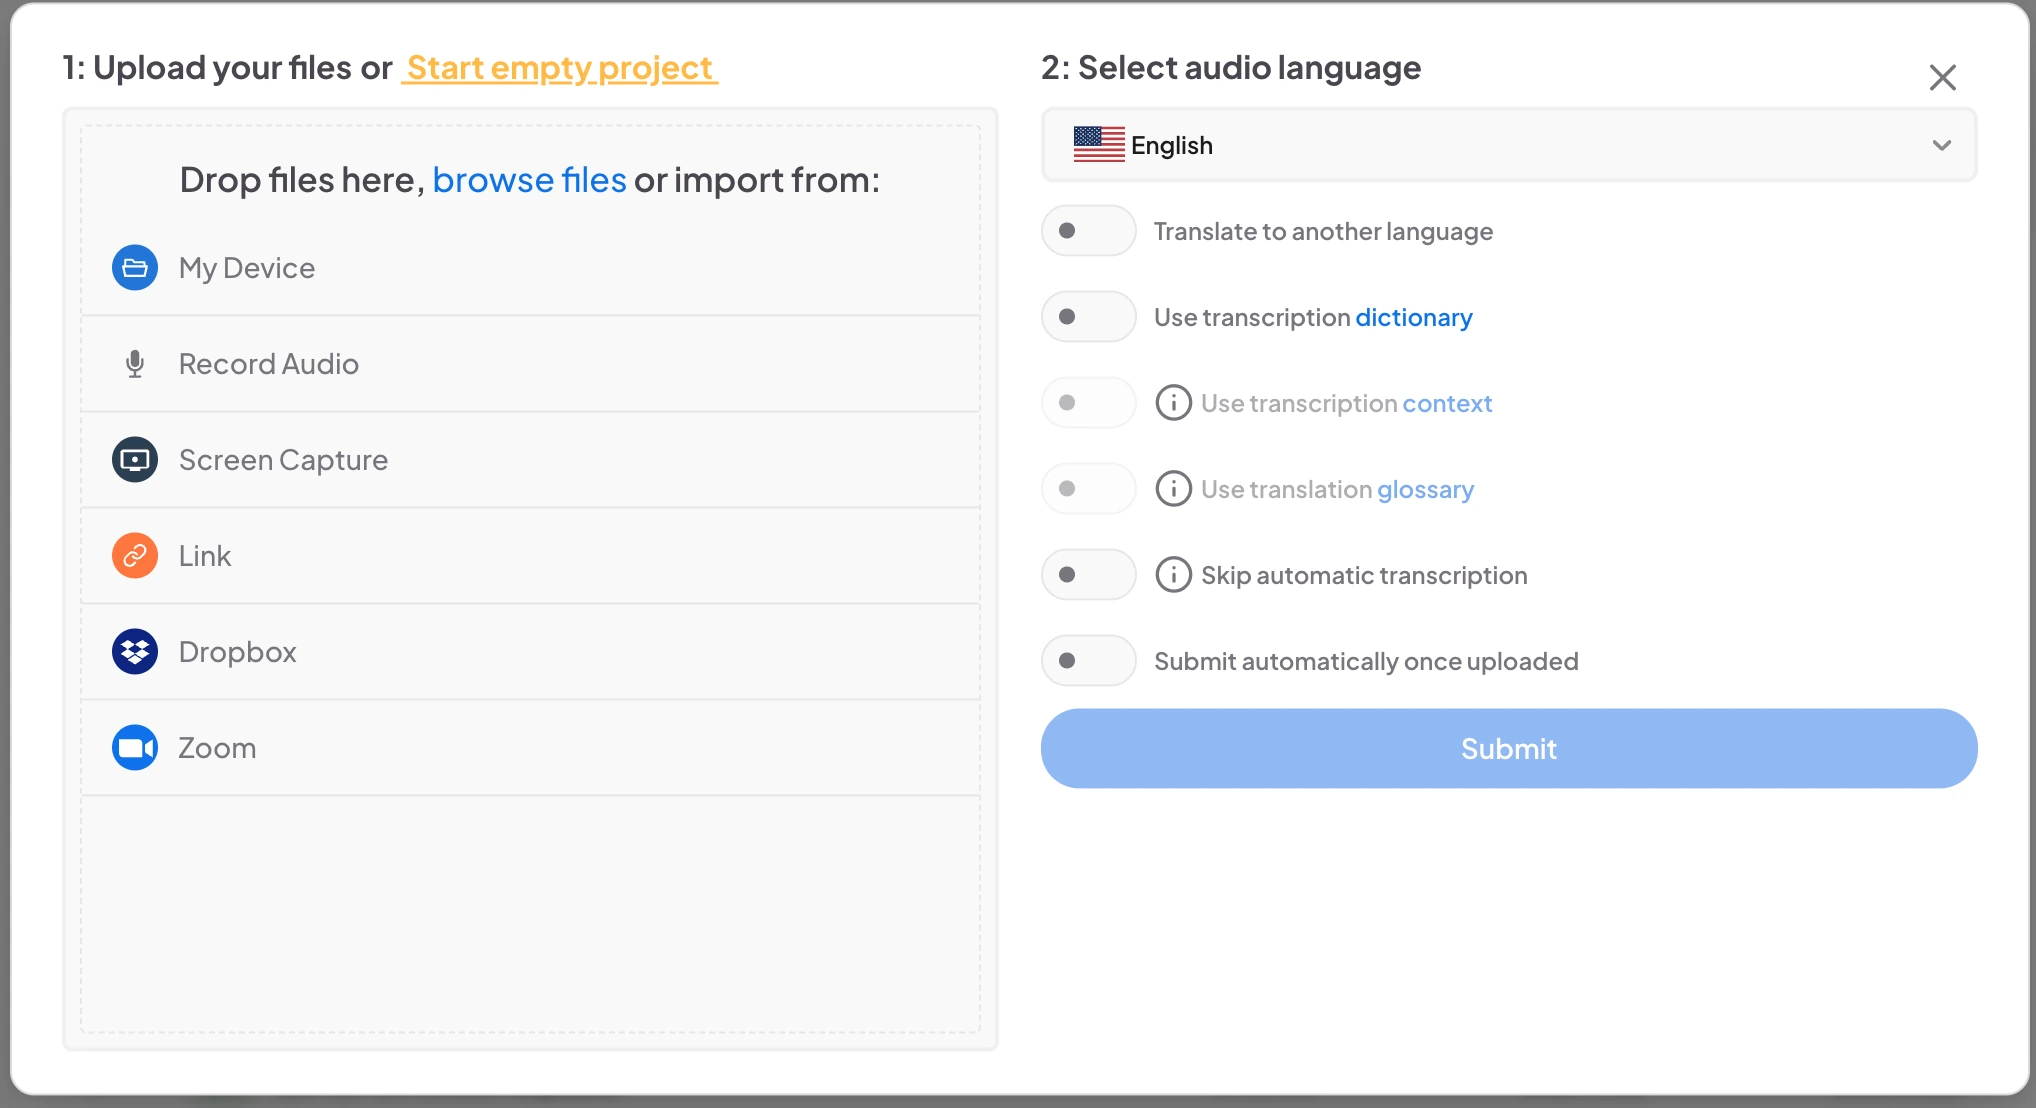
- Turn on Skip automatic transcription. Maestra Studio uses this option to let you upload your subtitle file manually in SRT or VTT format.
- Select Submit.
Import subtitles in the editor
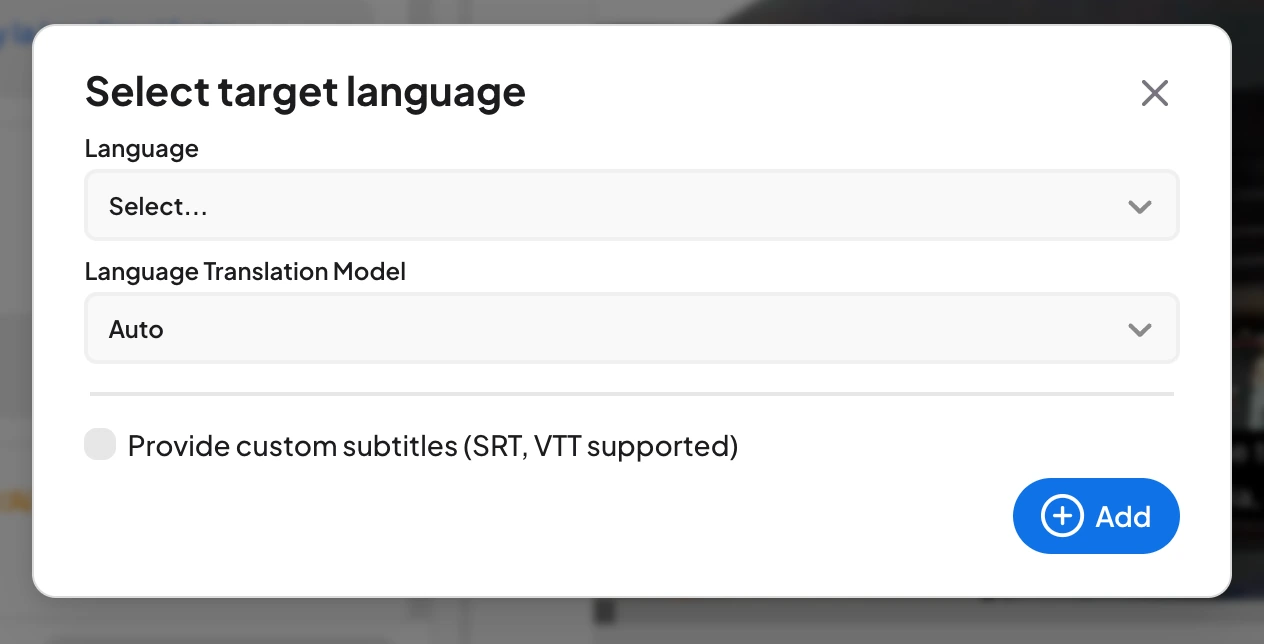
Inside an open file, select the + button next to the language tabs. In the Select target language window, turn on Provide custom subtitles (SRT, VTT supported) and add your file.
Import subtitles from the Tools menu
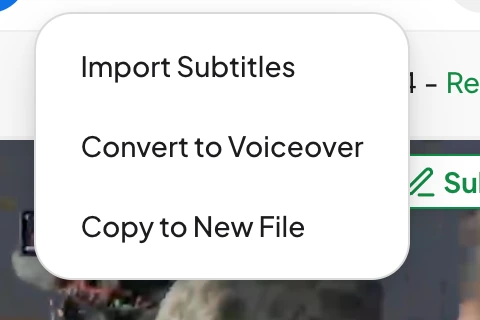
In an open file, select Tools in the top bar, then Import Subtitles. Add your SRT or VTT file to bring it into the editor.
Translate imported subtitles
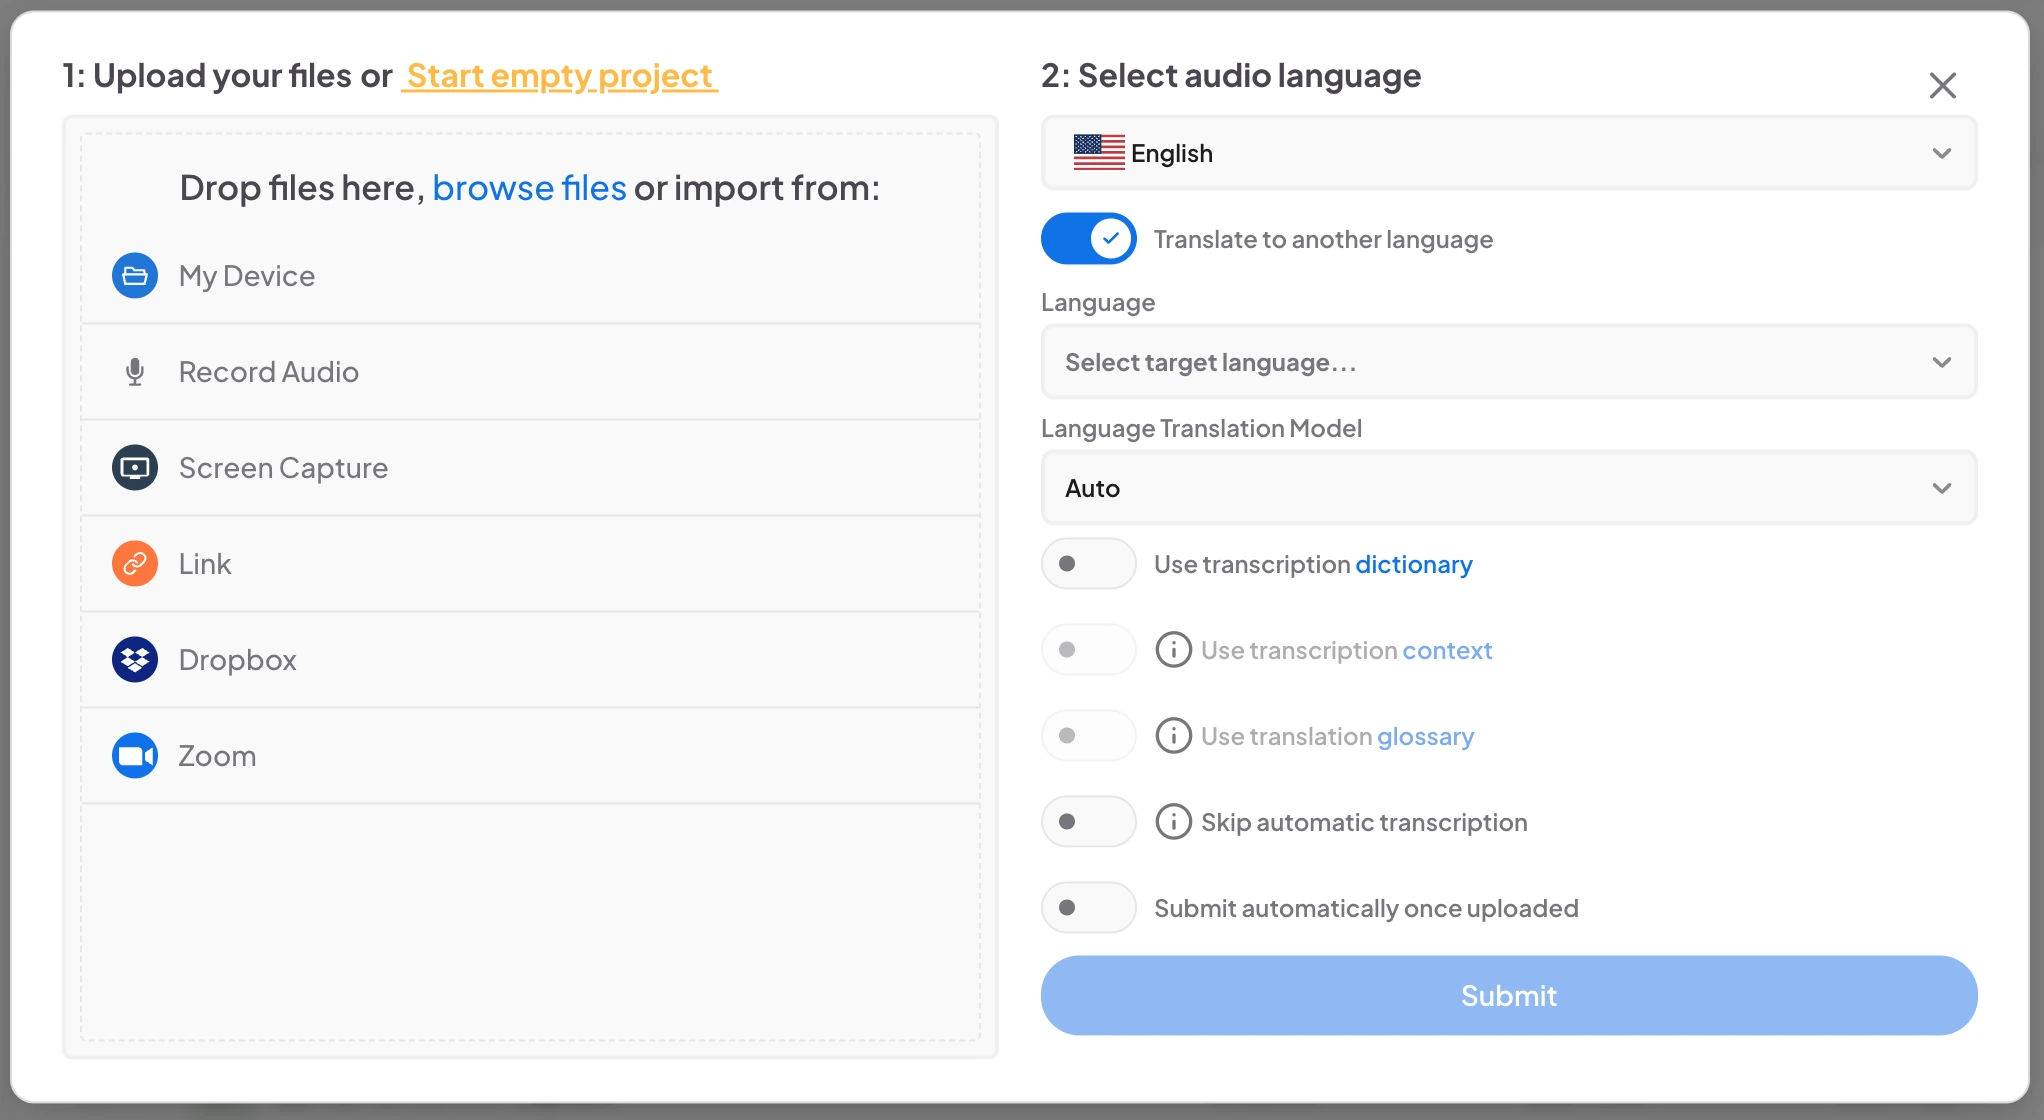
Once your subtitles are in Maestra Studio, turn on Translate to another language in the upload window and choose a target language. You can also add more languages later from the editor. Maestra Studio translates into more than 125 languages, and you can edit every translation in the same editor window.
For more on editing and exporting, read Subtitle Editor.
Frequently asked questions
Maestra Studio accepts SRT and VTT subtitle files.
Importing subtitles into a language replaces the subtitles in that language. If you want to keep the current version, duplicate the file first.
Yes. Translate to another language when you upload, or add a language in the editor with the plus button.
Yes. Maestra Studio needs the media file to show your subtitles on the video and to let you adjust timing.